Hosting a static Jekyll website on Amazon S3
10 May 2018Jekyll is a great tool for building simple static websites and Amazon S3 makes it incredibly fast and easy to host your sites. I’m going to show you how to get up and running with your own personal site in record time.
Install Jekyll
To get started, we’ll install jekyll which requires the Ruby programming runtime. If you’re running Mac, the easiest way to install Ruby is with homebrew. For Windows, you can download the RubyInstaller.
$ brew install ruby
$ gem install bundler jekyll
Create the website
Once we have jekyll installed, we can create a new jekyll project using the jekyll new command.
$ jekyll new my-site
$ cd my-site
Start the server
Jekyll will have created some files for the new project. We can run the site locally with the jekyll serve command.
$ jekyll serve
Configuration file: /Users/adrian.tengamnuay/my-site/_config.yml
            Source: /Users/adrian.tengamnuay/my-site
       Destination: /Users/adrian.tengamnuay/my-site/_site
 Incremental build: disabled. Enable with --incremental
      Generating...
                    done in 5.786 seconds.
 Auto-regeneration: enabled for '/Users/adrian.tengamnuay/my-site'
    Server address: http://127.0.0.1:4000/
  Server running... press ctrl-c to stop.
With the server up and running, you can now view the site by visiting http://localhost:4000 in a browser. The generated site is stored under the _site directory by default. We are ready to host our static site on Amazon S3.
Setting up the AWS command line tool
For the rest of this guide we’re going to be working with the AWS command line interface. You can skip this section if you already have the CLI installed and configured.
Install AWS CLI
$ pip install awscli
Configure the AWS CLI
$ aws configure
AWS Access Key ID [None]: YOUR-ACCESS-KEY
AWS Secret Access Key [None]: YOUR-SECRET-KEY
Default region name [None]: us-east-1
Default output format [None]:
For more information on generating access keys for programmatic access, check the AWS documentation.
Create the S3 Bucket
Note that if you have a particular domain that you would like to host your website at, then your bucket name must match the domain name. For the rest of this guide, I will be using the tengamnuay.com domain which I purchased through Amazon Route 53.
$ aws s3 mb s3://tengamnuay.com
make_bucket: tengamnuay.com
Upload site contents
$ aws s3 sync _site s3://tengamnuay.com
upload: _site/feed.xml to s3://tengamnuay.com/feed.xml
upload: _site/404.html to s3://tengamnuay.com/404.html
upload: _site/jekyll/update/2018/05/09/welcome-to-jekyll.html to s3://tengamnuay.com/jekyll/update/2018/05/09/welcome-to-jekyll.html
upload: _site/assets/main.css to s3://tengamnuay.com/assets/main.css
upload: _site/assets/minima-social-icons.svg to s3://tengamnuay.com/assets/minima-social-icons.svg
upload: _site/index.html to s3://tengamnuay.com/index.html
upload: _site/about/index.html to s3://tengamnuay.com/about/index.html
Configure the bucket for static website hosting
$ aws s3 website s3://tengamnuay.com --index-document index.html --error-document 404.html
This site is now being hosted by Amazon S3 at http://tengamnuay.com.s3-website-us-east-1.amazonaws.com. The general format of website URLs hosted on S3 is http://{bucket-name}.s3-website-{region}.amazonaws.com.
Update bucket policy
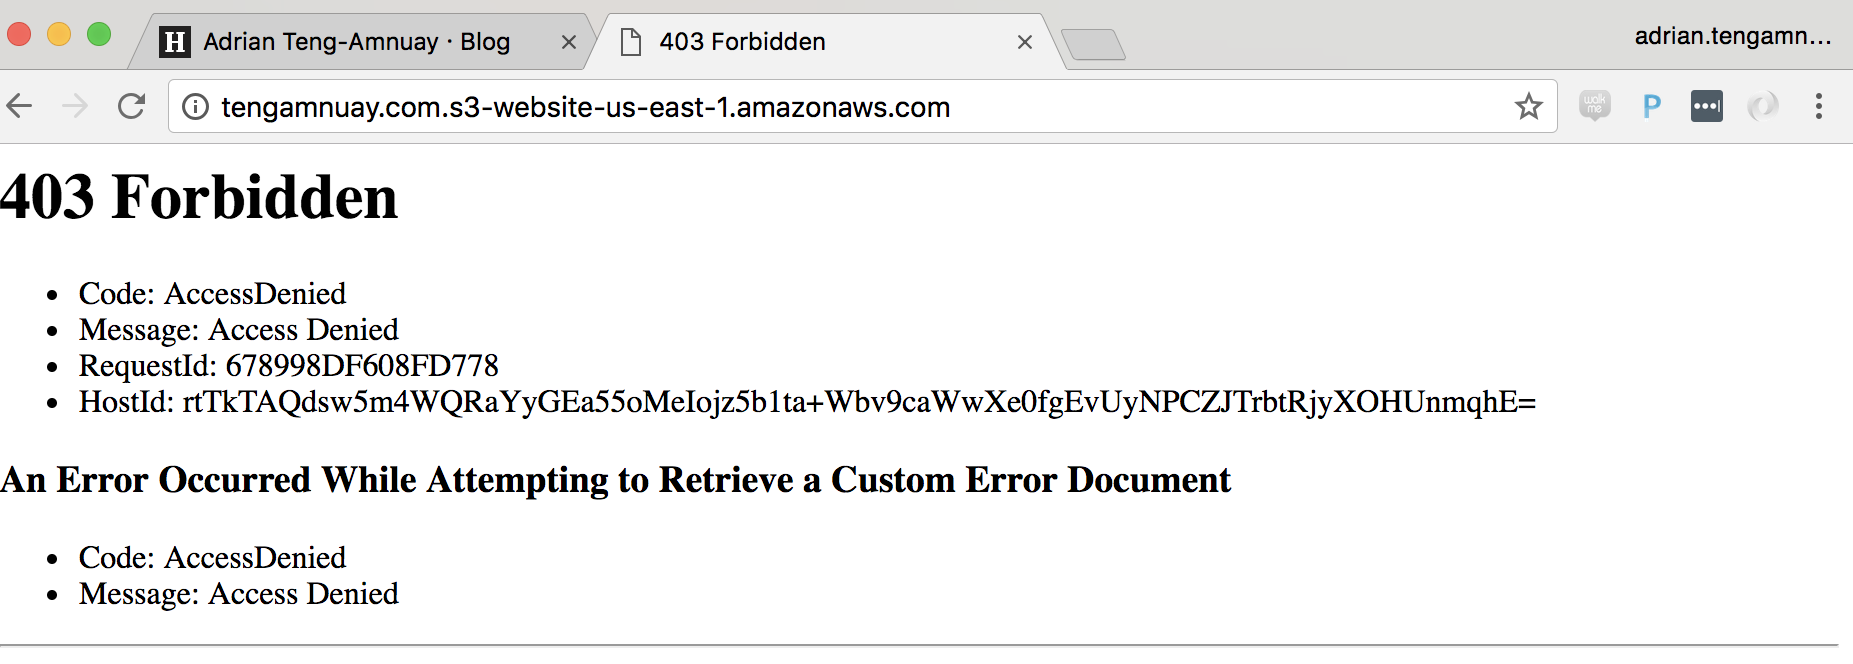
If we try to visit the URL for our S3 website, we get a 403 Forbidden error.
In order to remedy this we need to update the policy on our bucket to allow public read access to anyone. Don’t forget to replace the bucket name with your own.
$ aws s3api put-bucket-policy \
  --bucket tengamnuay.com \
  --policy \
'{
  "Version":"2012-10-17",
  "Statement":[{
        "Sid":"PublicReadGetObject",
        "Effect":"Allow",
          "Principal": "*",
      "Action":["s3:GetObject"],
      "Resource":["arn:aws:s3:::tengamnuay.com/*"]
    }
  ]
}'
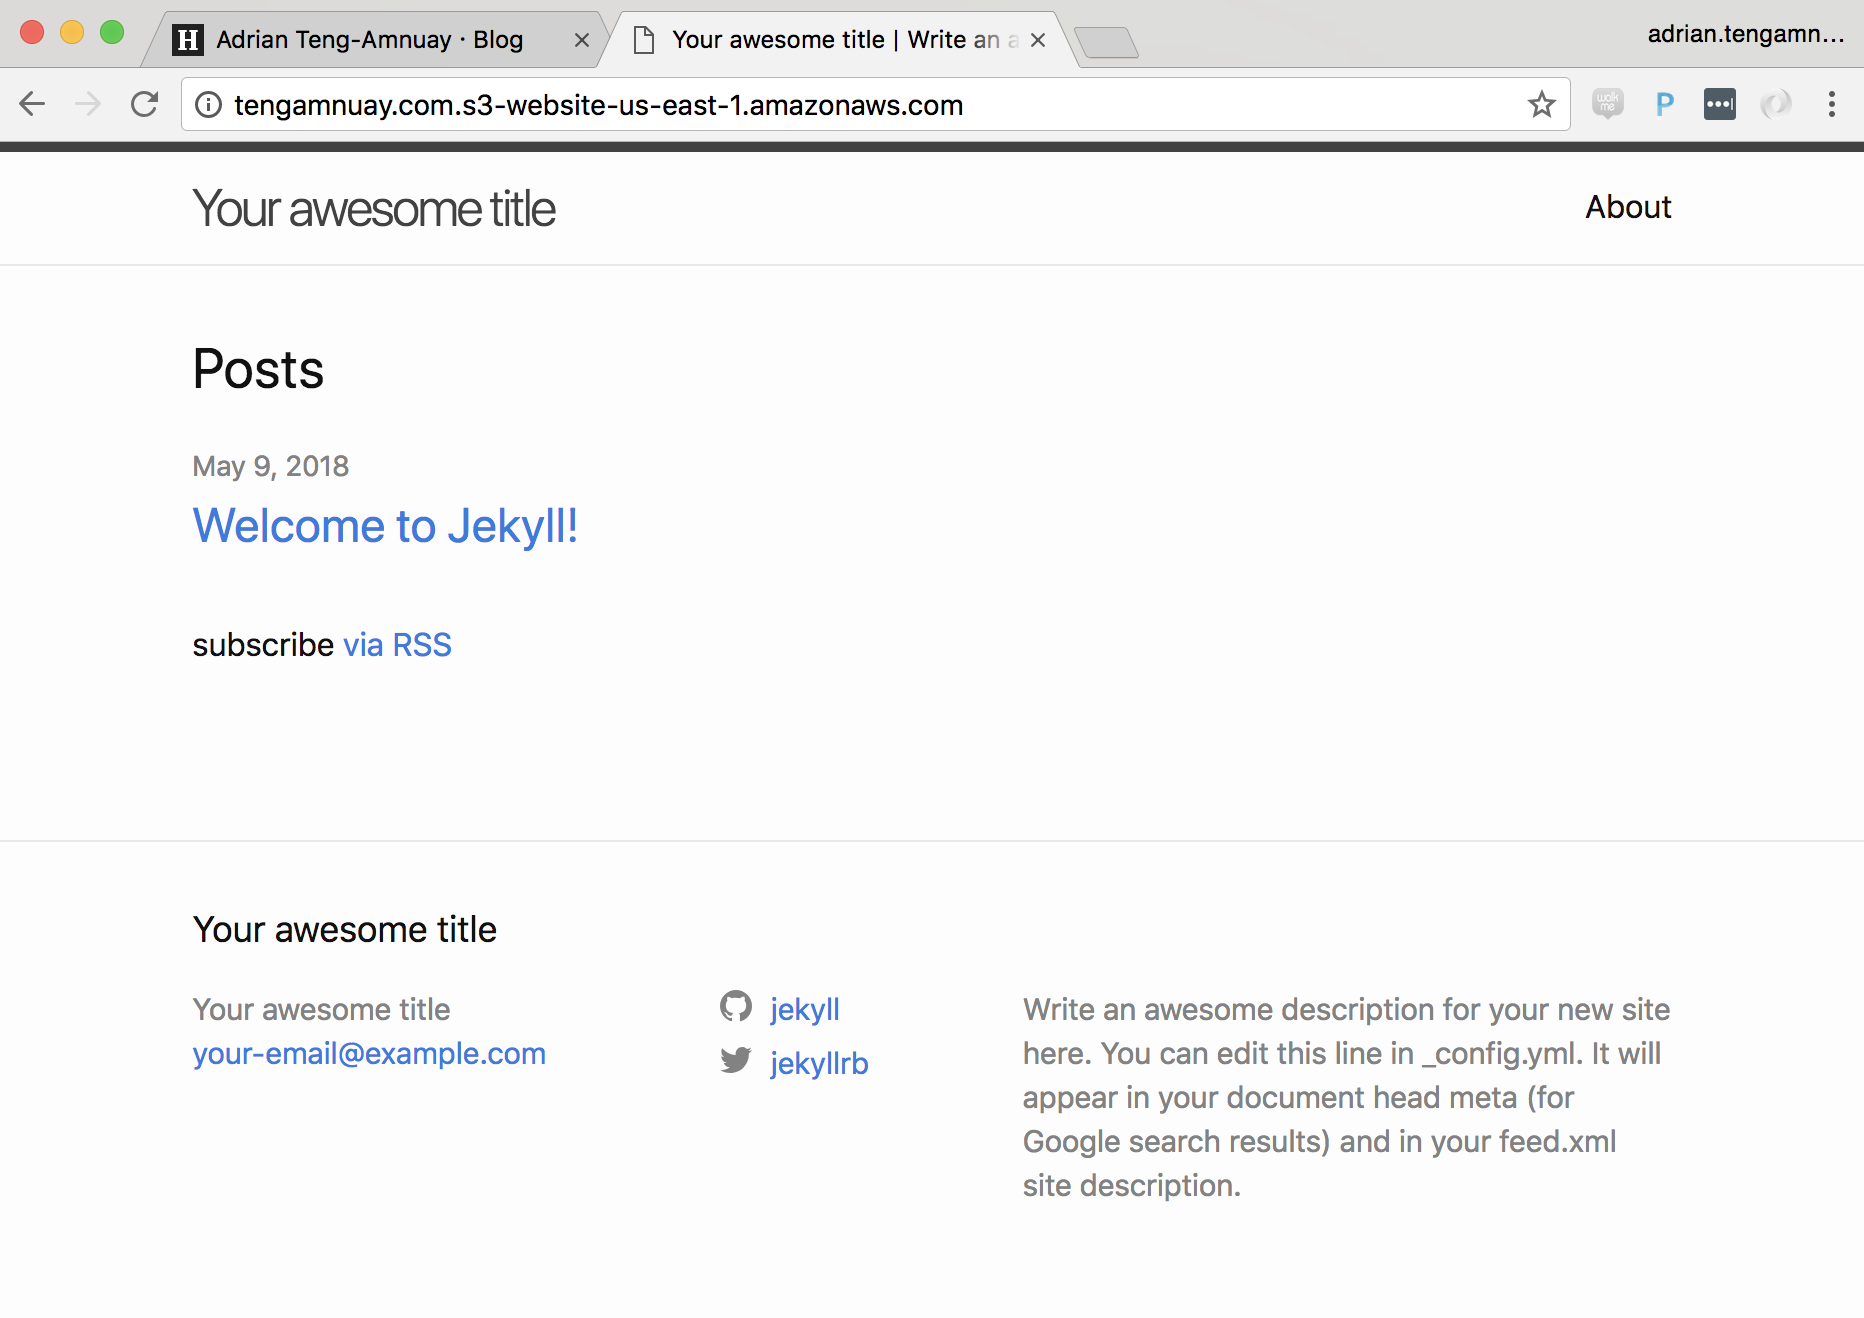
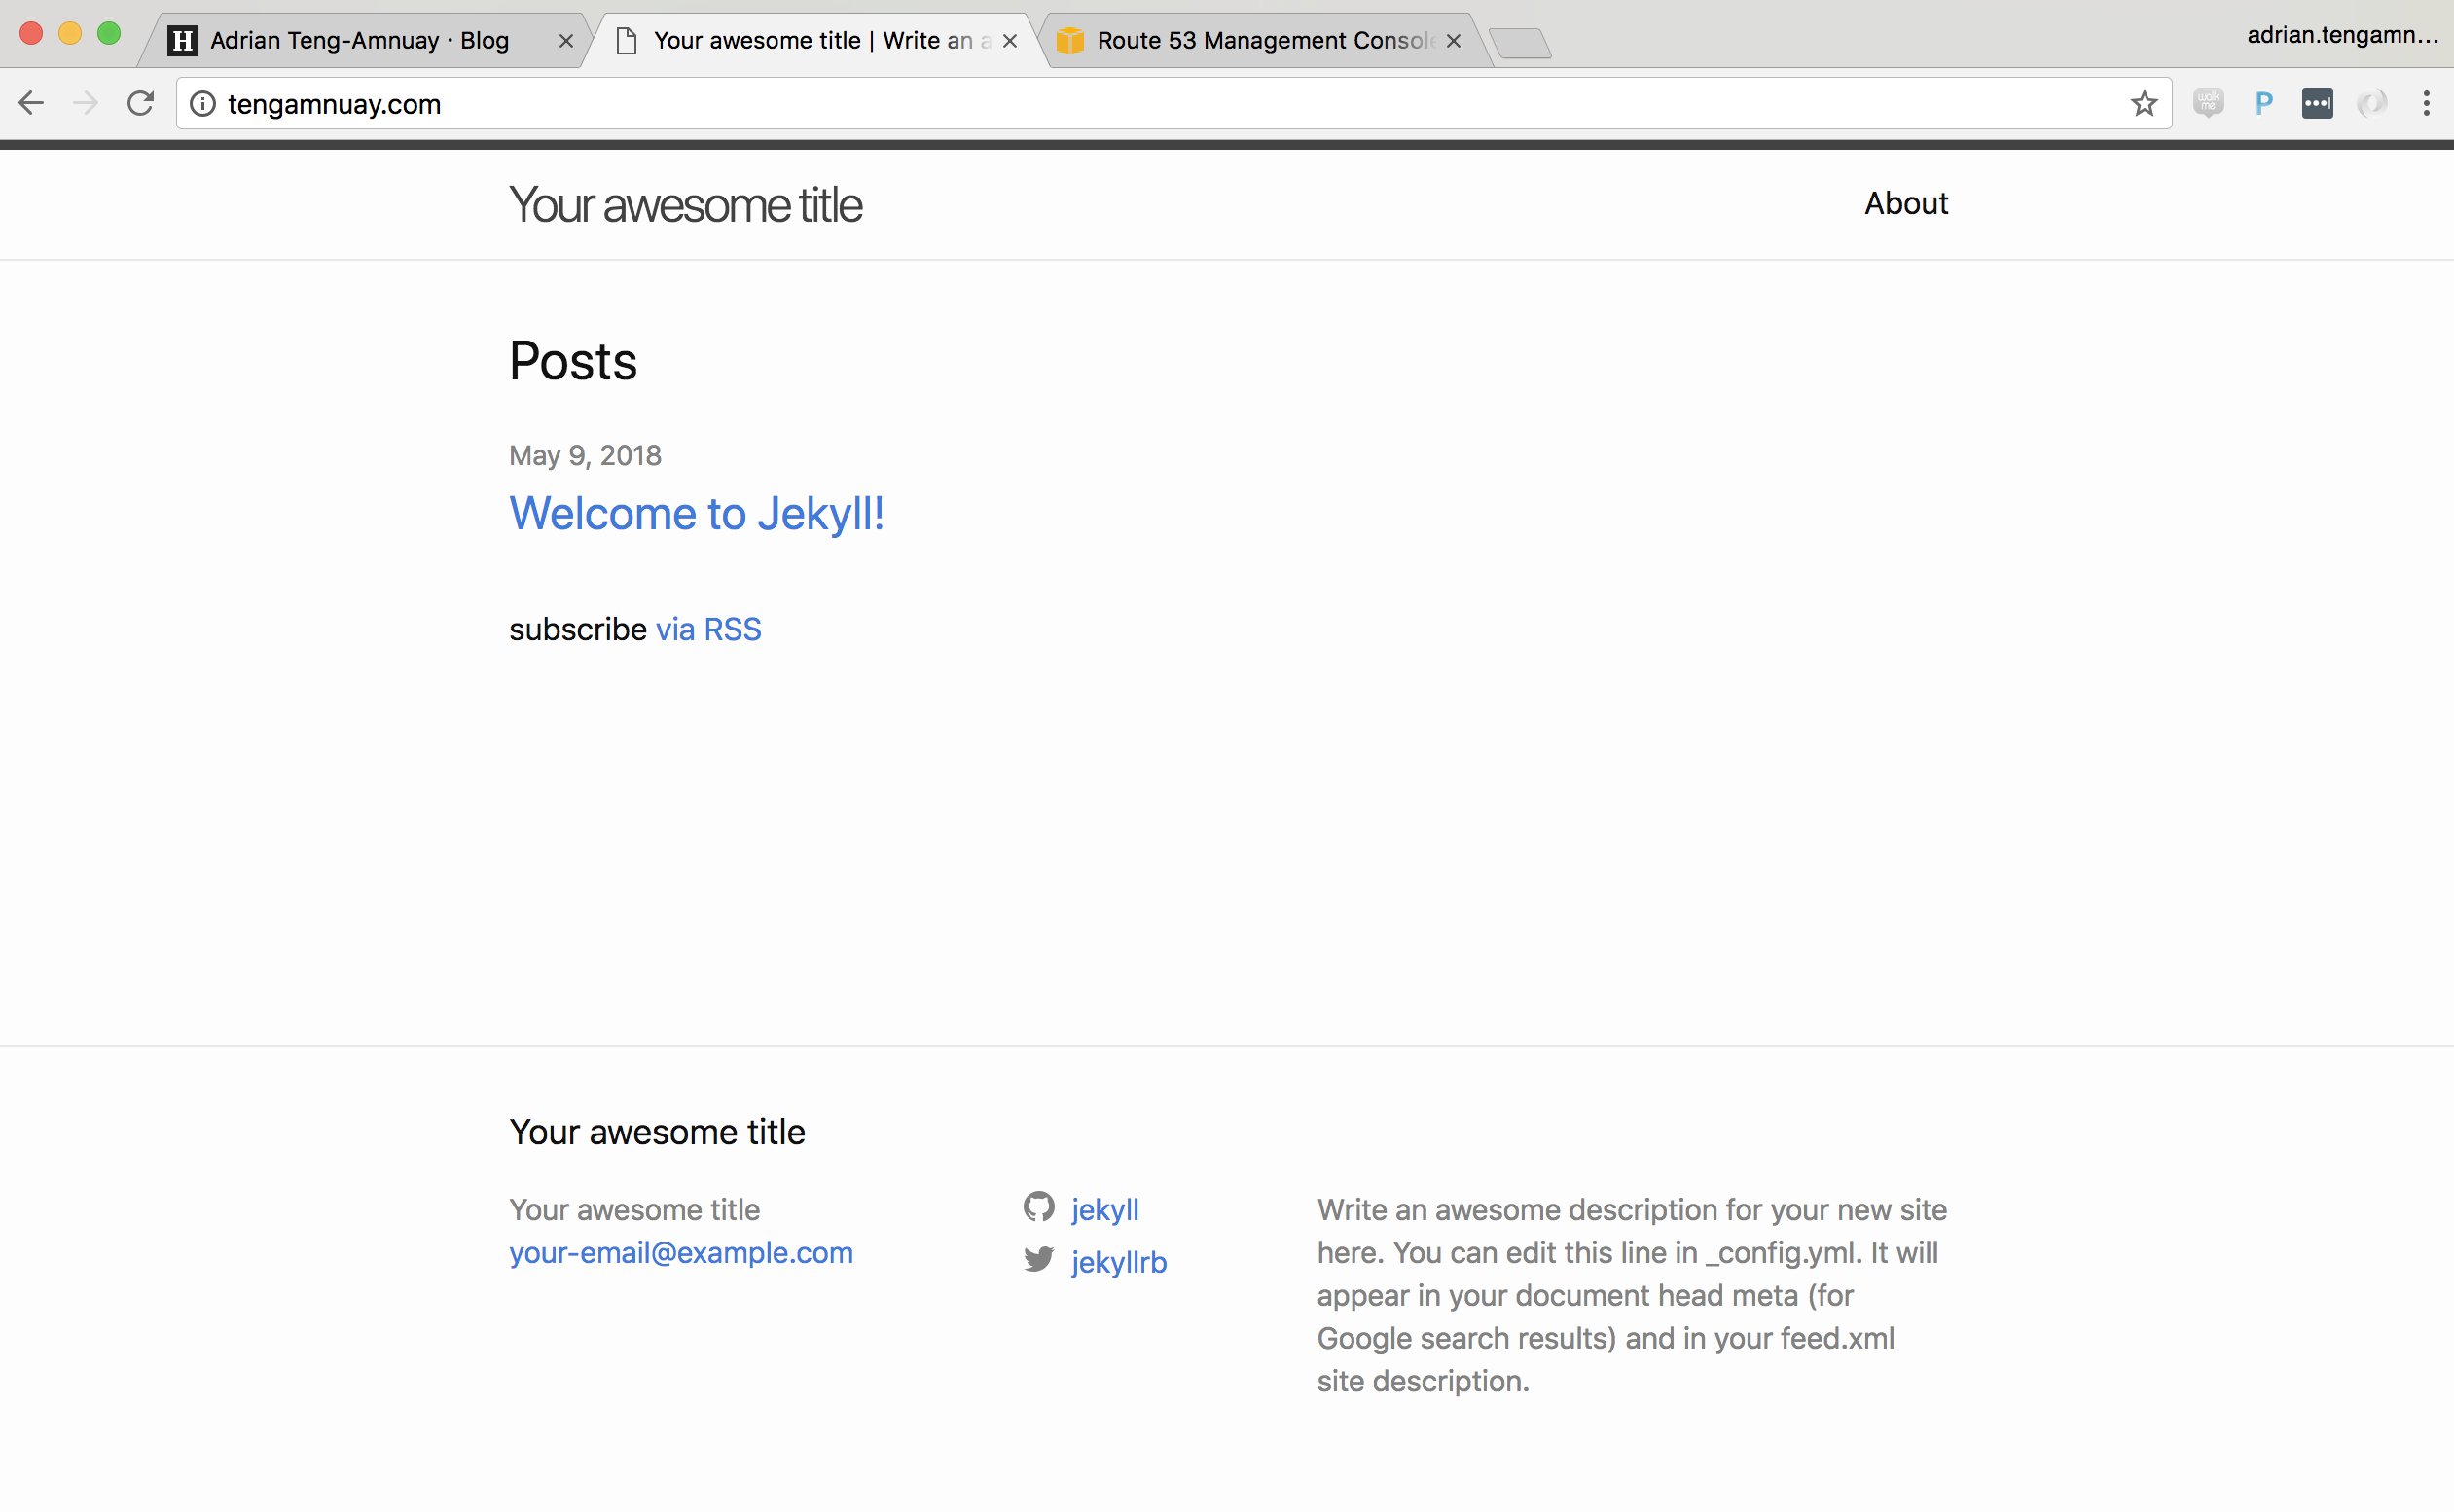
Refresh the page and you should see the website up and running.
How to deploy updates
With our jekyll project and S3 bucket properly set up, it’s incredibly easy to deploy changes to our site. Let’s update the _config.yml file with our own site title and description.
title: My Simple Jekyll Website
email: your-email@example.com
description: >- # this means to ignore newlines until "baseurl:"
  This is a static website built with jekyll
  which is hosted on Amazon S3.
  It's easy, and awesome.
Now simply rebuild the site and re-upload to S3.
$ jekyll build
Configuration file: /Users/adrian.tengamnuay/my-site/_config.yml
            Source: /Users/adrian.tengamnuay/my-site
       Destination: /Users/adrian.tengamnuay/my-site/_site
 Incremental build: disabled. Enable with --incremental
      Generating...
                    done in 0.506 seconds.
 Auto-regeneration: disabled. Use --watch to enable.

$ aws s3 sync _site s3://tengamnuay.com
upload: _site/404.html to s3://tengamnuay.com/404.html
upload: _site/feed.xml to s3://tengamnuay.com/feed.xml
upload: _site/about/index.html to s3://tengamnuay.com/about/index.html
upload: _site/index.html to s3://tengamnuay.com/index.html
upload: _site/assets/main.css to s3://tengamnuay.com/assets/main.css
upload: _site/jekyll/update/2018/05/09/welcome-to-jekyll.html to s3://tengamnuay.com/jekyll/update/2018/05/09/welcome-to-jekyll.html
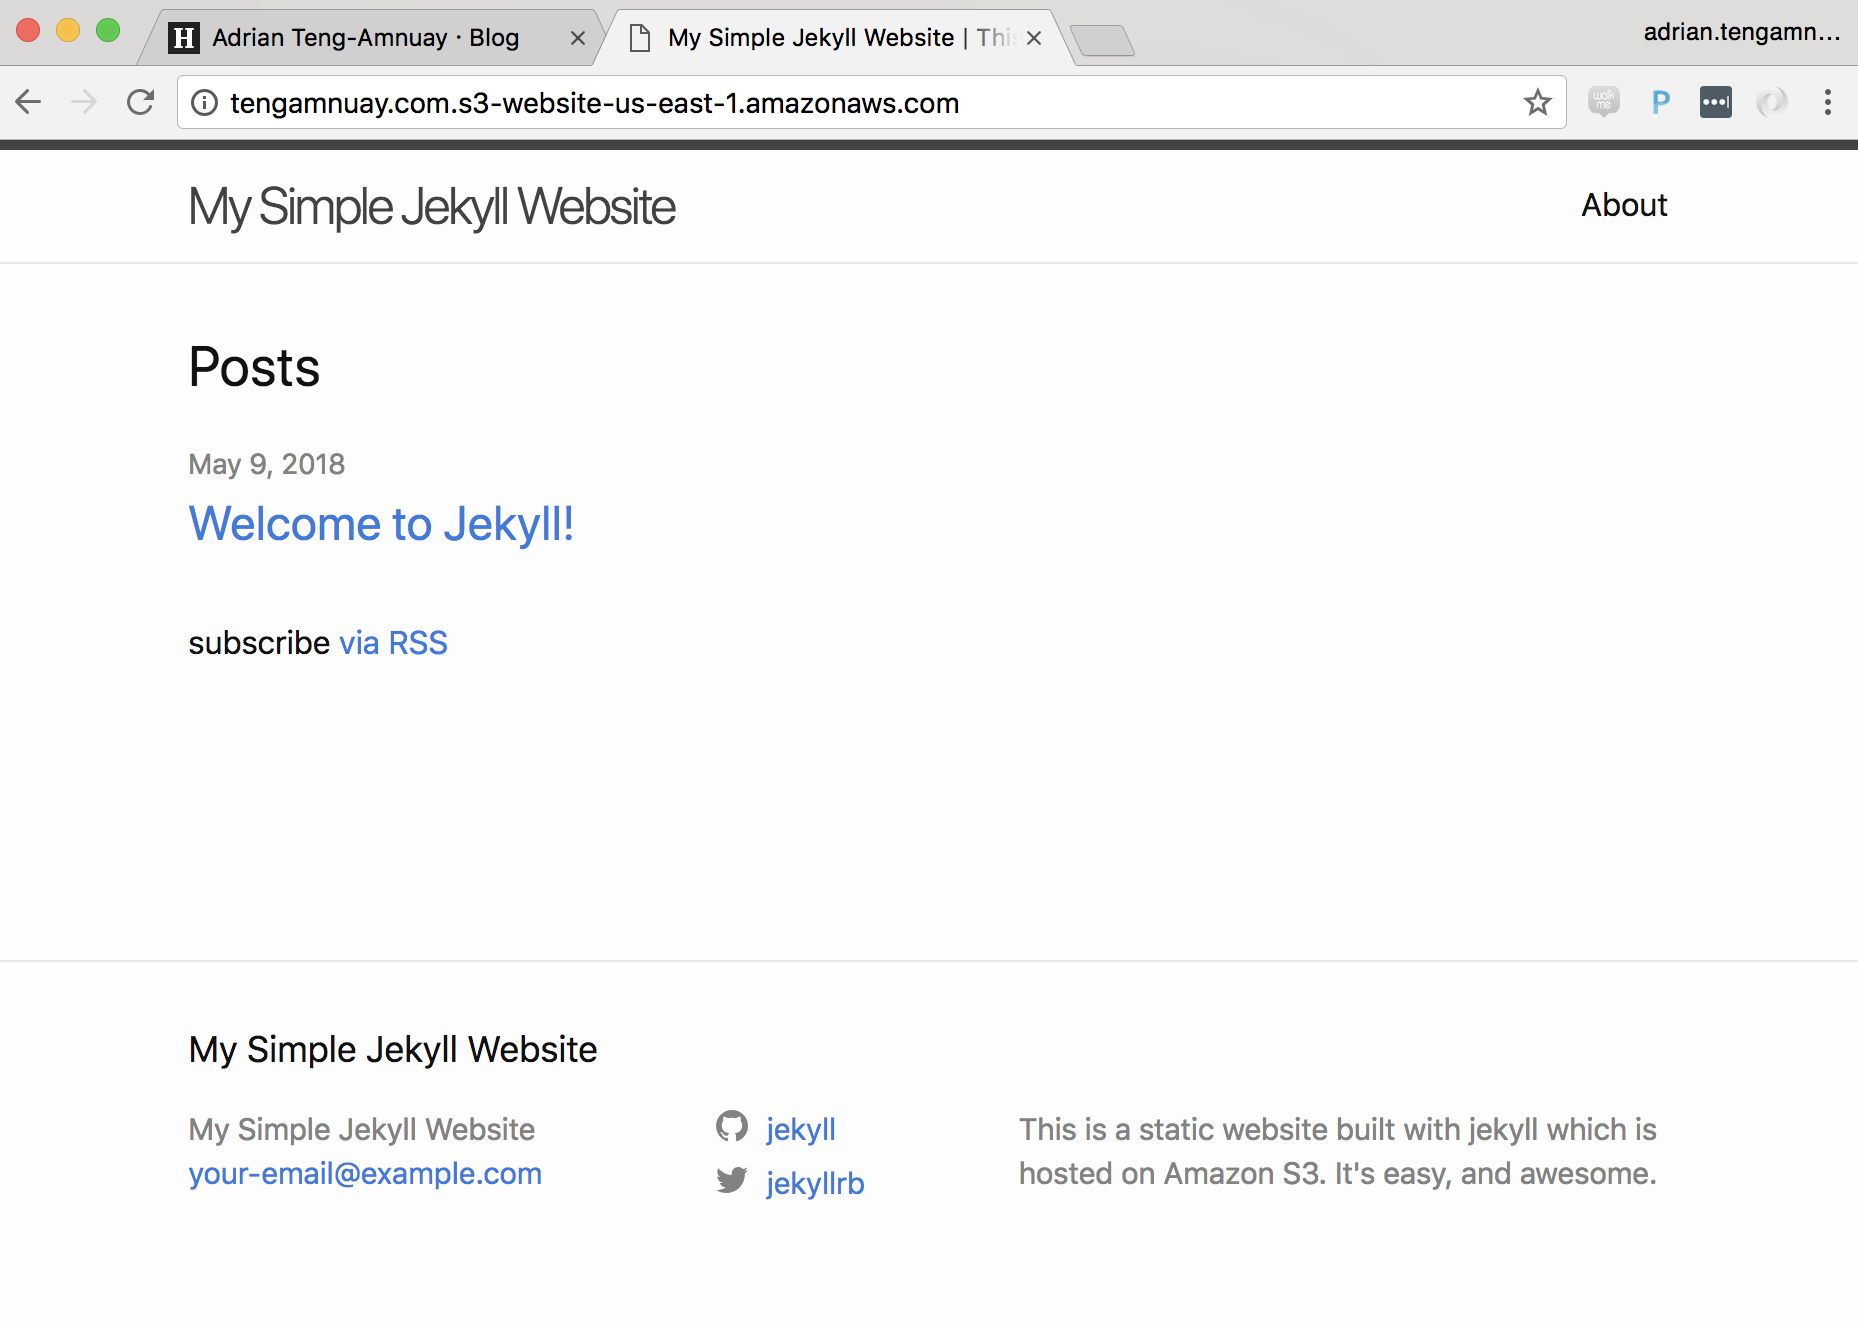
Refresh the page and confirm the changes.
Setting up your domain
If you did not purchase your domain through Amazon Route 53, you will need to transfer your domain over to Route 53.
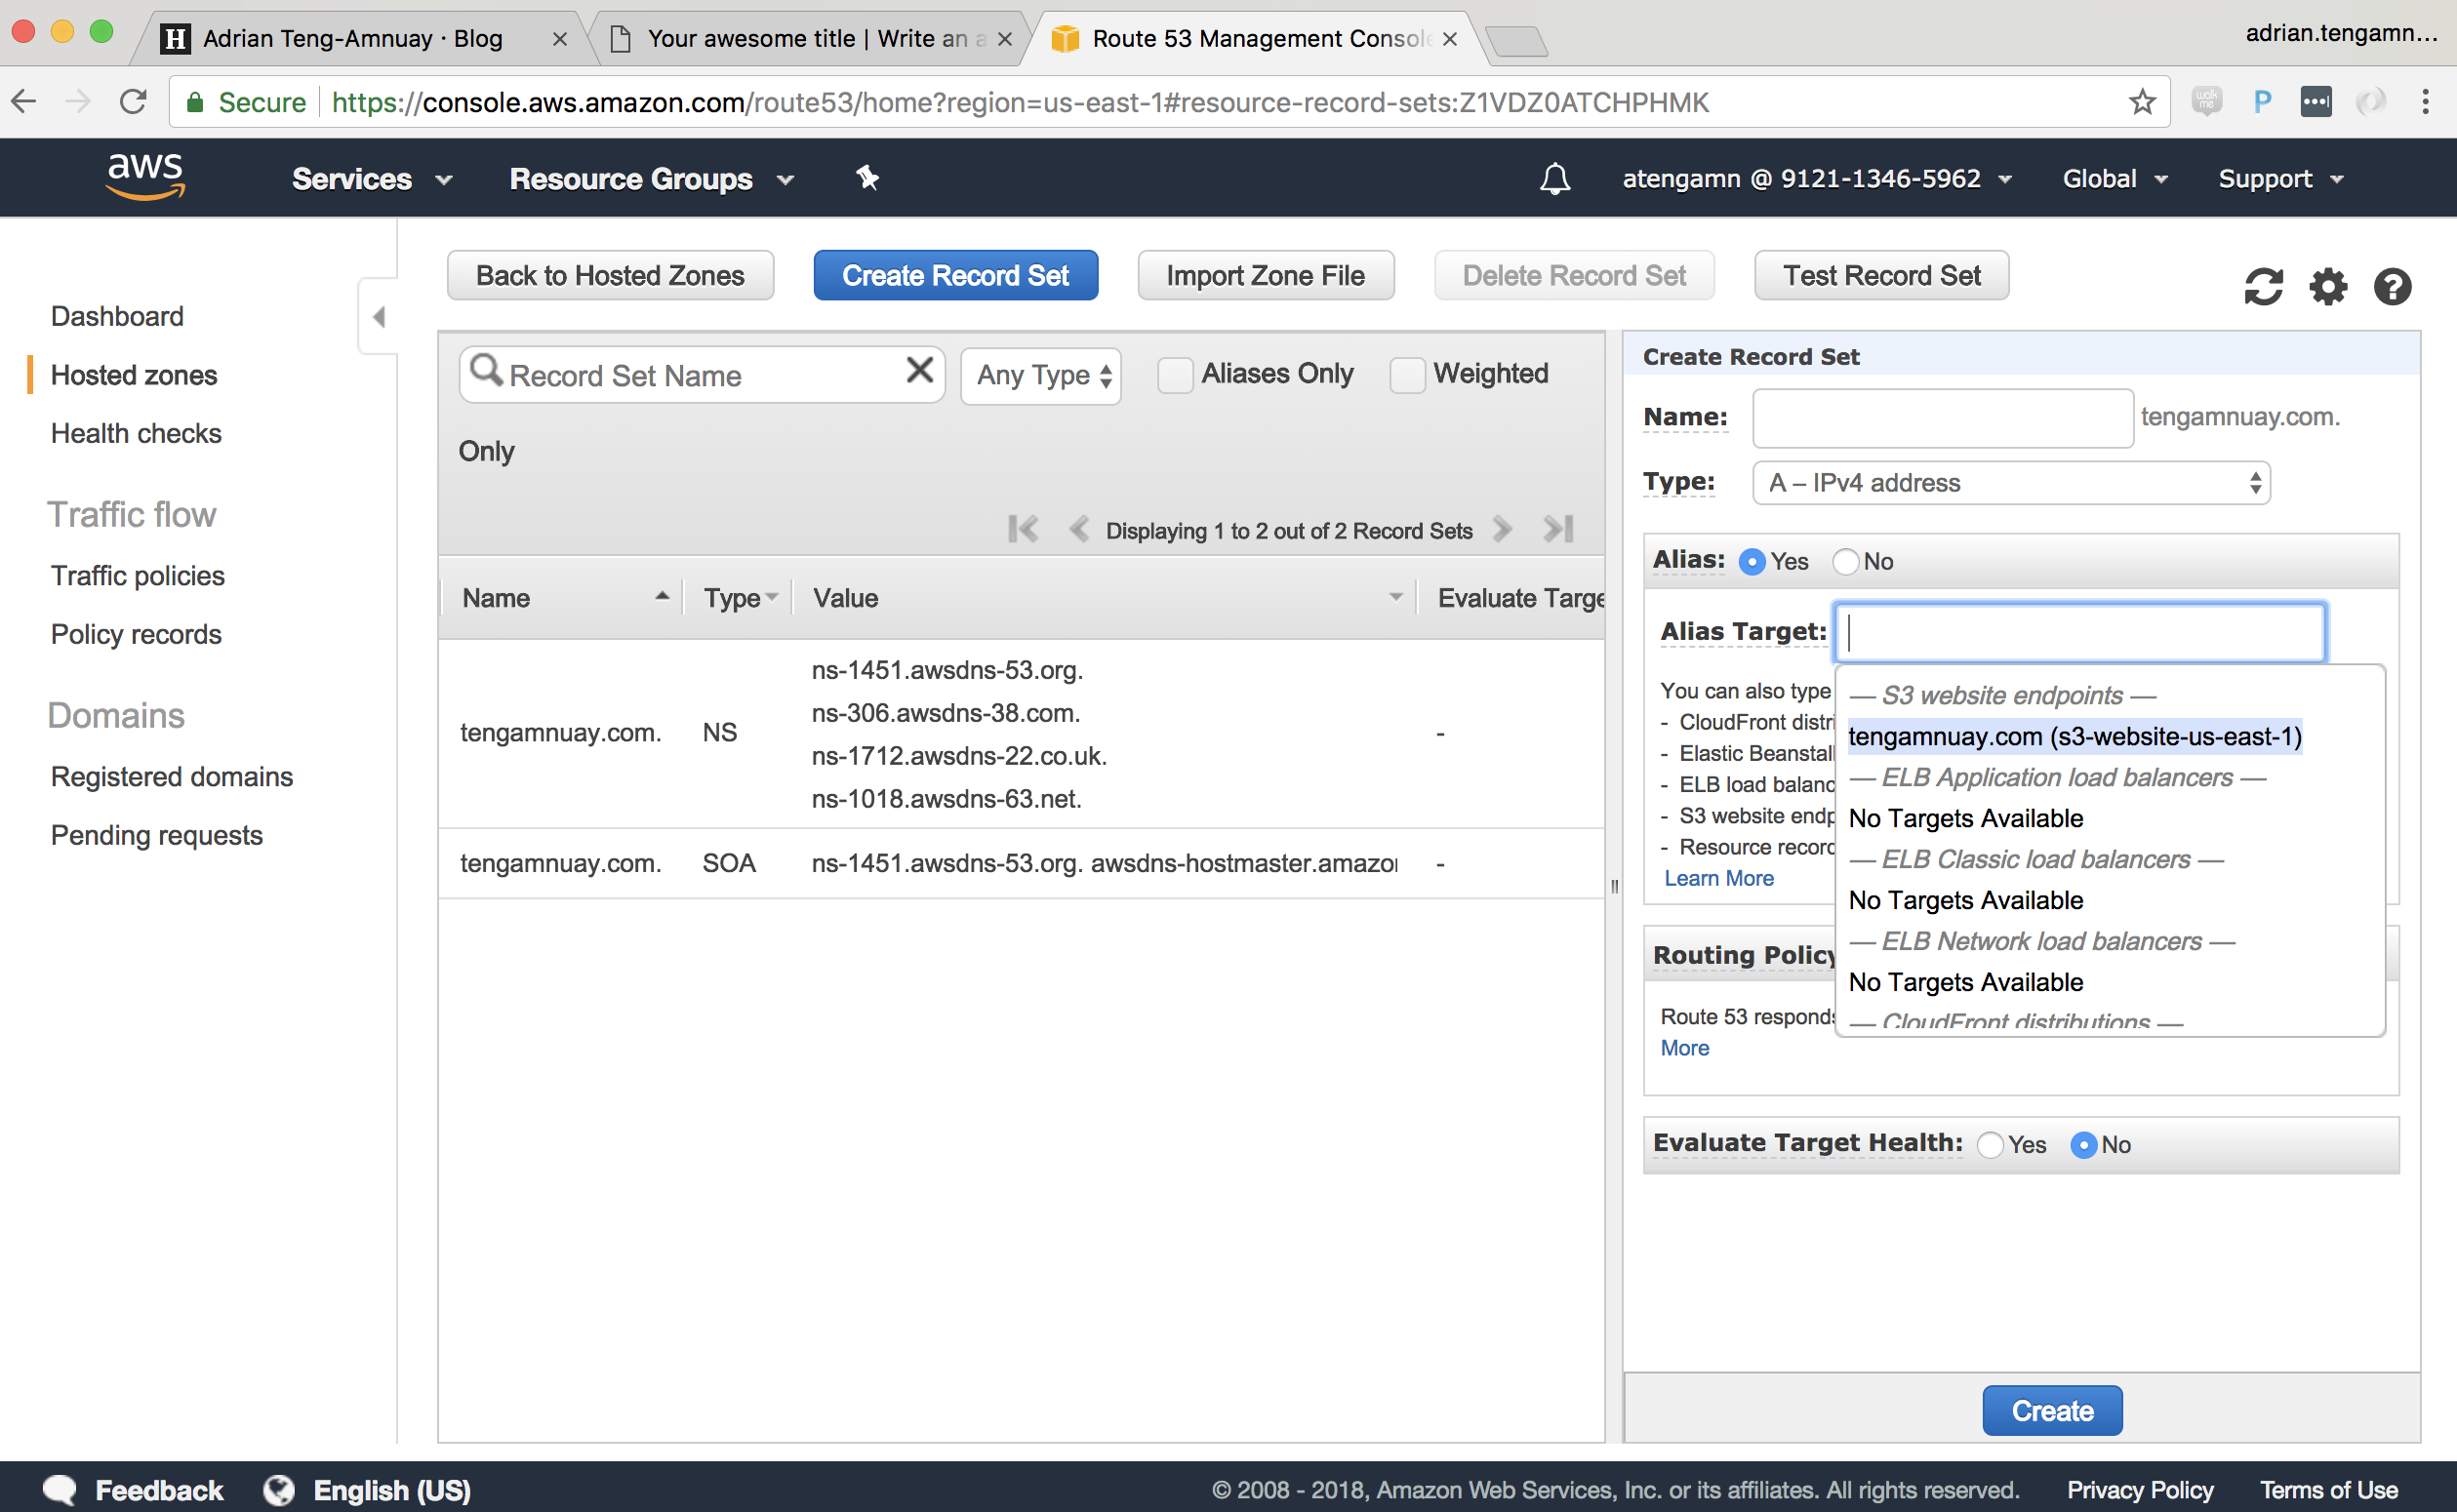
Log on to the AWS console and navigate to the Route 53 service. Select your domain from the Hosted zones tab to modify the DNS records. Create an A Record and select your S3 endpoint from the Alias Target dropdown, then click Create.
It may take a few seconds, but you should now be able to visit your jekyll website from your domain.
Happy blogging!
